
Bandana Pattern
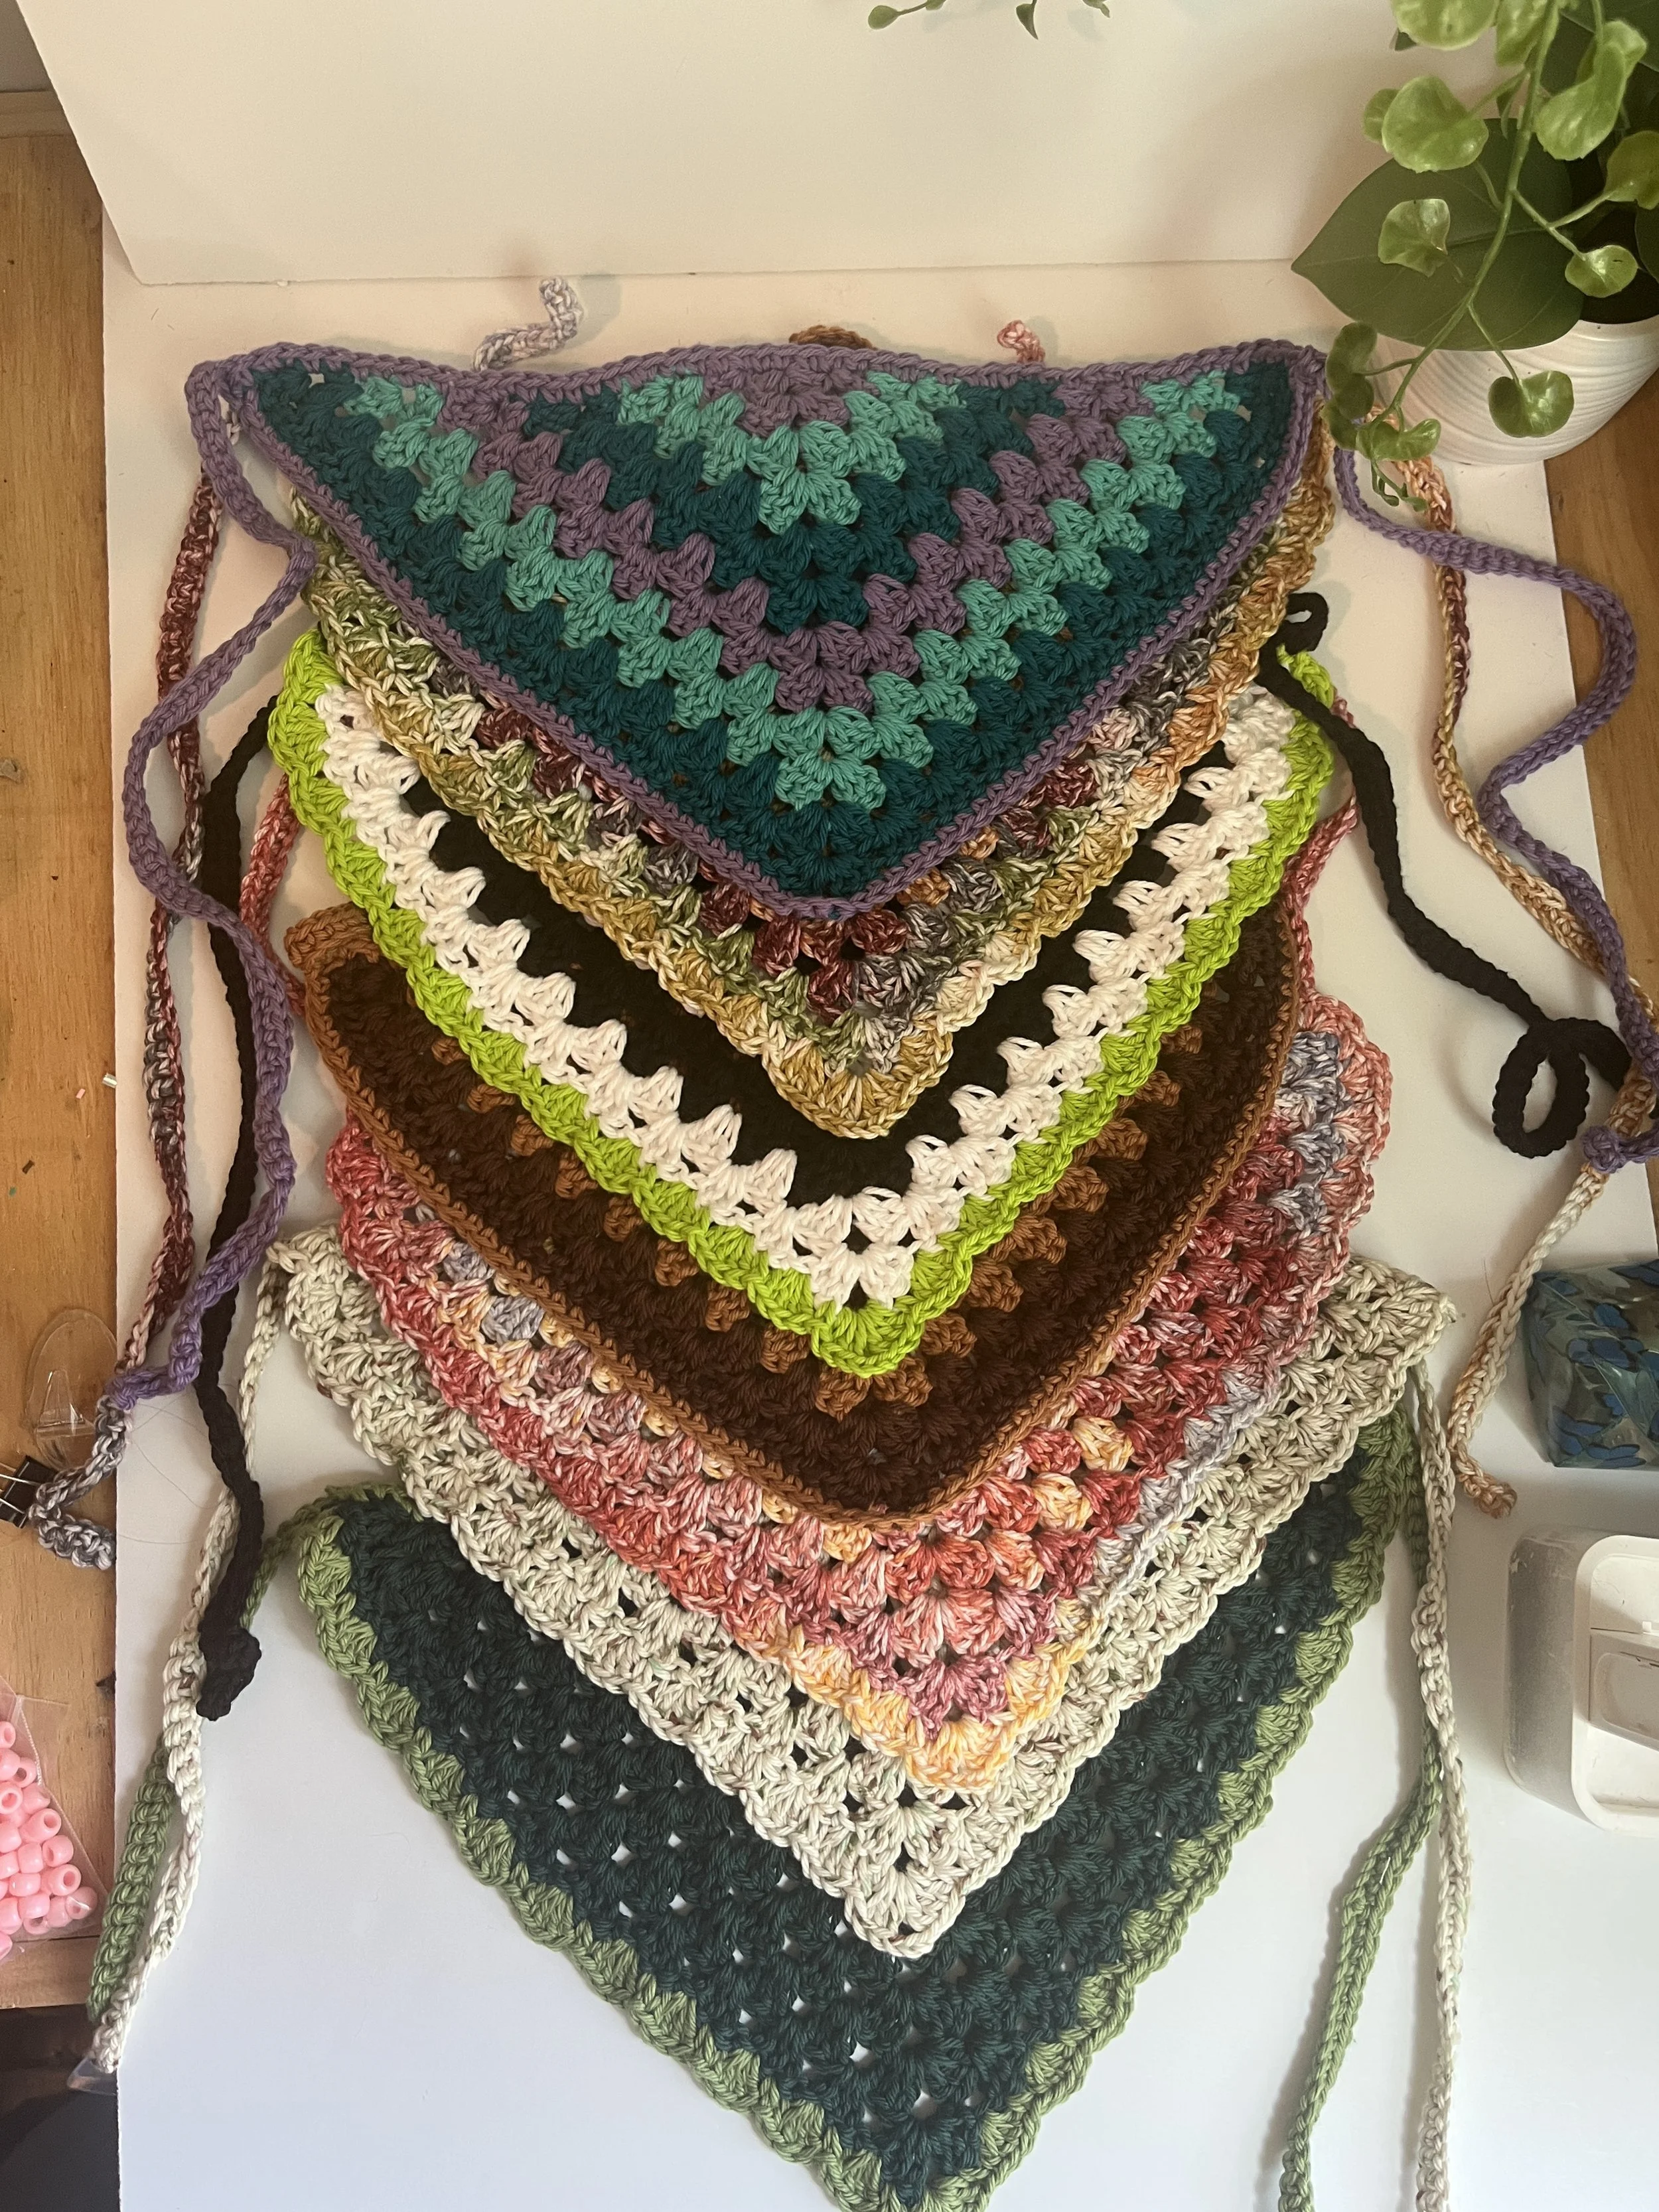
The perfect accessory for any outfit! Super customizable and quick to work up! Please let me know if you have any questions and have fun!
Time Duration: 1:30
Terms:
SC: single crochet
DC: double crochet
SL ST: slip stitch
CH: chain
SH ST: shell stitch
DC CLUSTER = 3 DC
Materials Used:
Size 4 Medium Weight Yarn (100% Cotton works best)
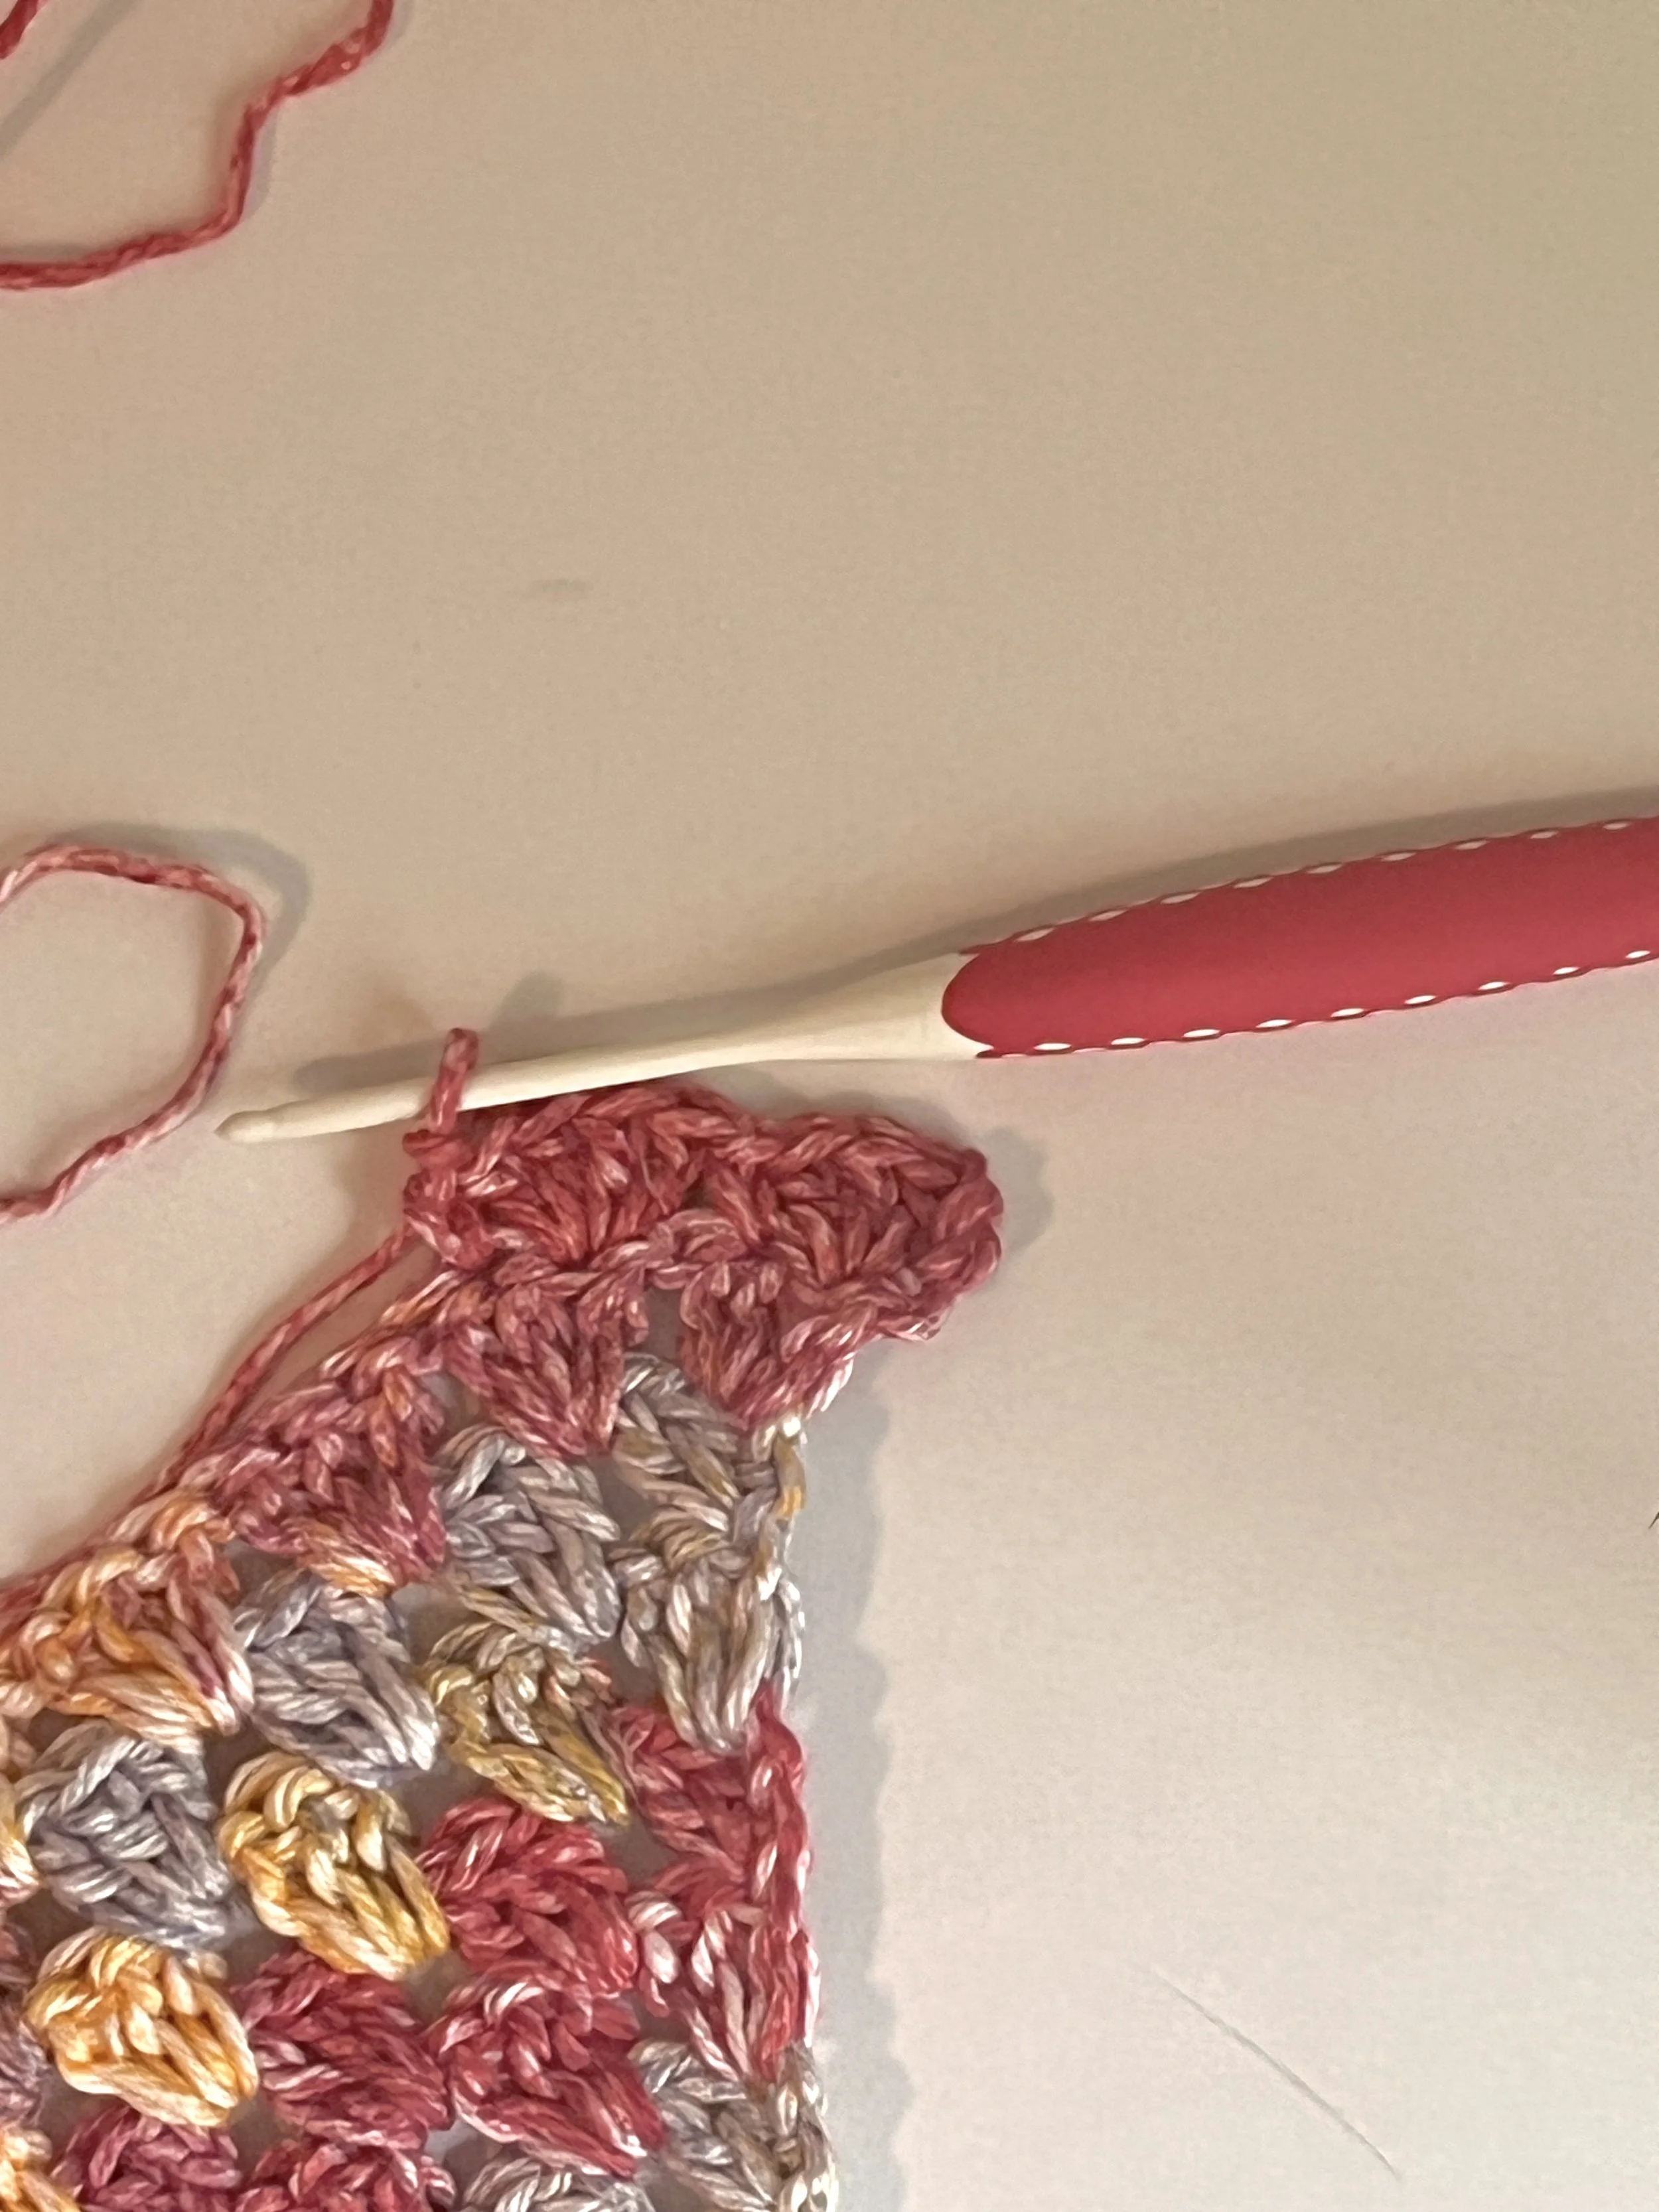
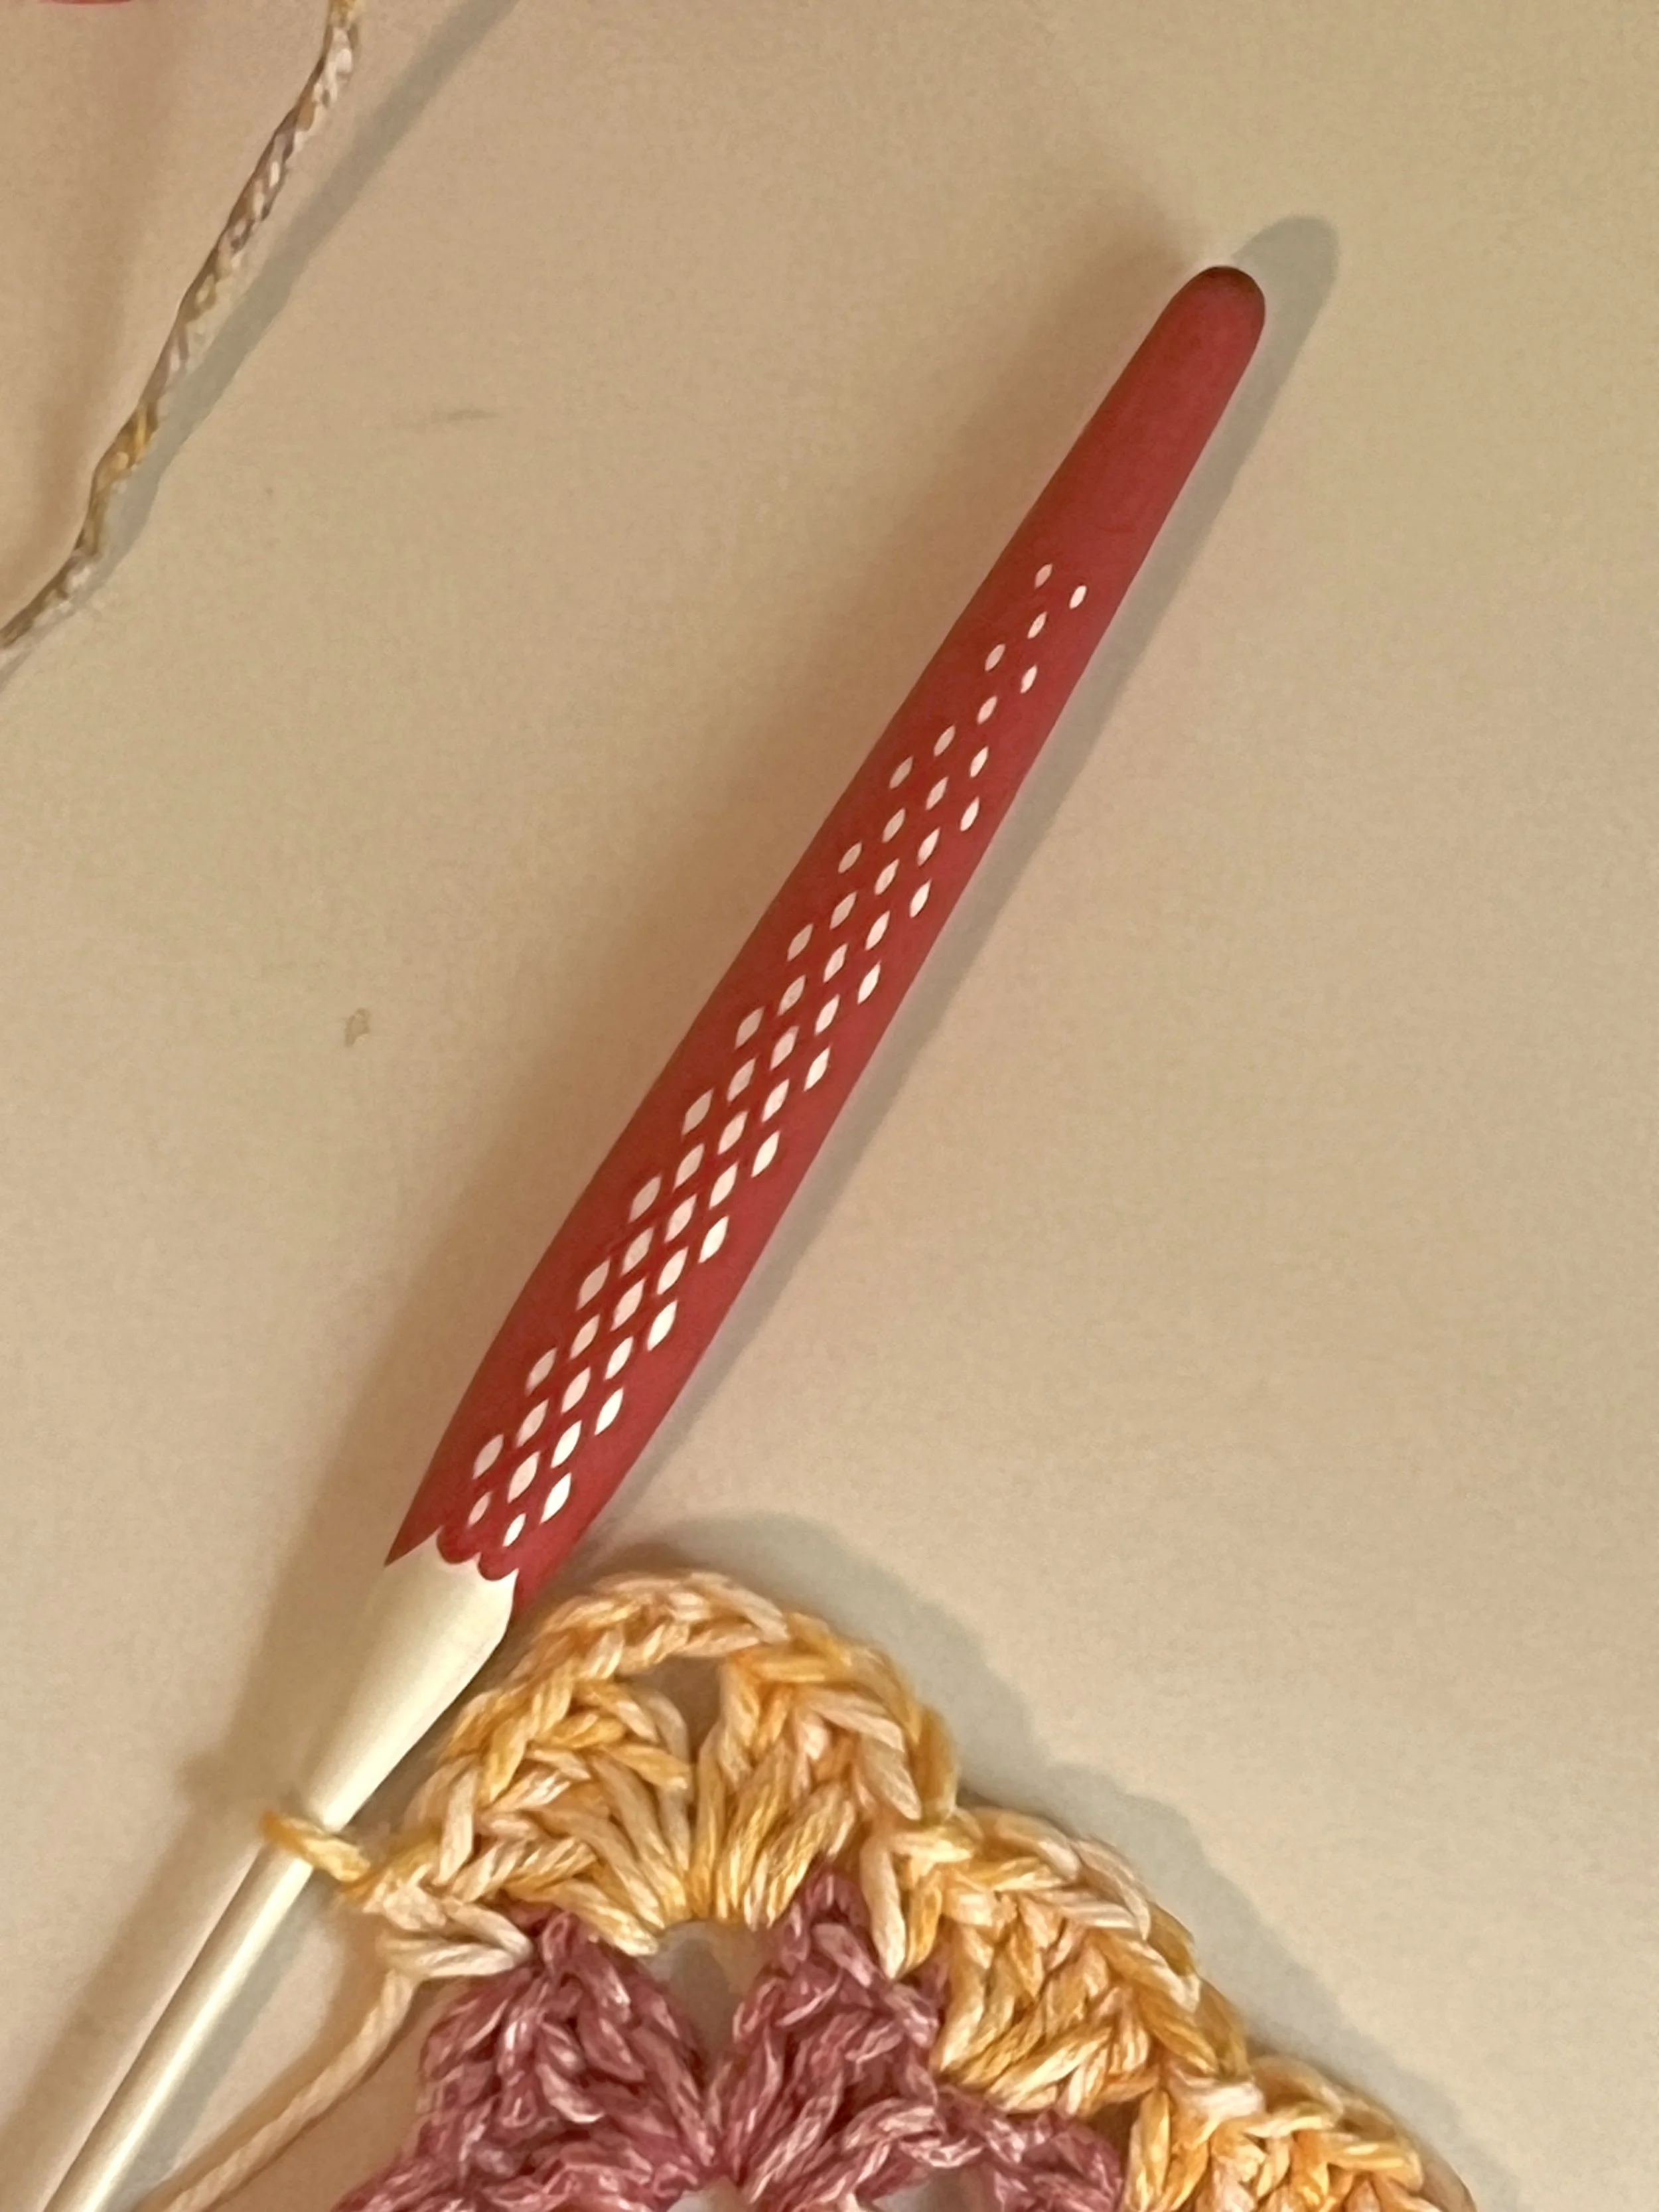
3.4 mm (Letter E) hook
Scissors
Yarn Needle
How to Attach New Color:
Don’t be afraid to use more than one color with this project, and it is super easy!
Insert hook into project, create a slip knot and attach to your hook.

Pull your hook back through project and chain up desired number of chains. Now you are ready to continue on with the pattern!


Base:
Create a Magic Circle or CH 2 SL ST to create a circle.
ROW 1: CH 3 (this counts as first DC). Insert 2 more DC to the circle to create the first DC CLUSTER. CH 3 to create top of triangle and insert 1 DC CLUSTER into circle. CH 3 and turn work.

ROW 2: Insert 2 DC into the first stitch and then 1 DC CLUSTER in the CH 3 space. CH 3 and then insert 1 DC CLUSTER in the same CH 3 space. Insert 1 DC CLUSTER in the last stitch, CH 3 and turn work.
If you are using multiple colors fasten off COLOR A. Insert hook into corner, add COLOR B, CH 3 and turn work.
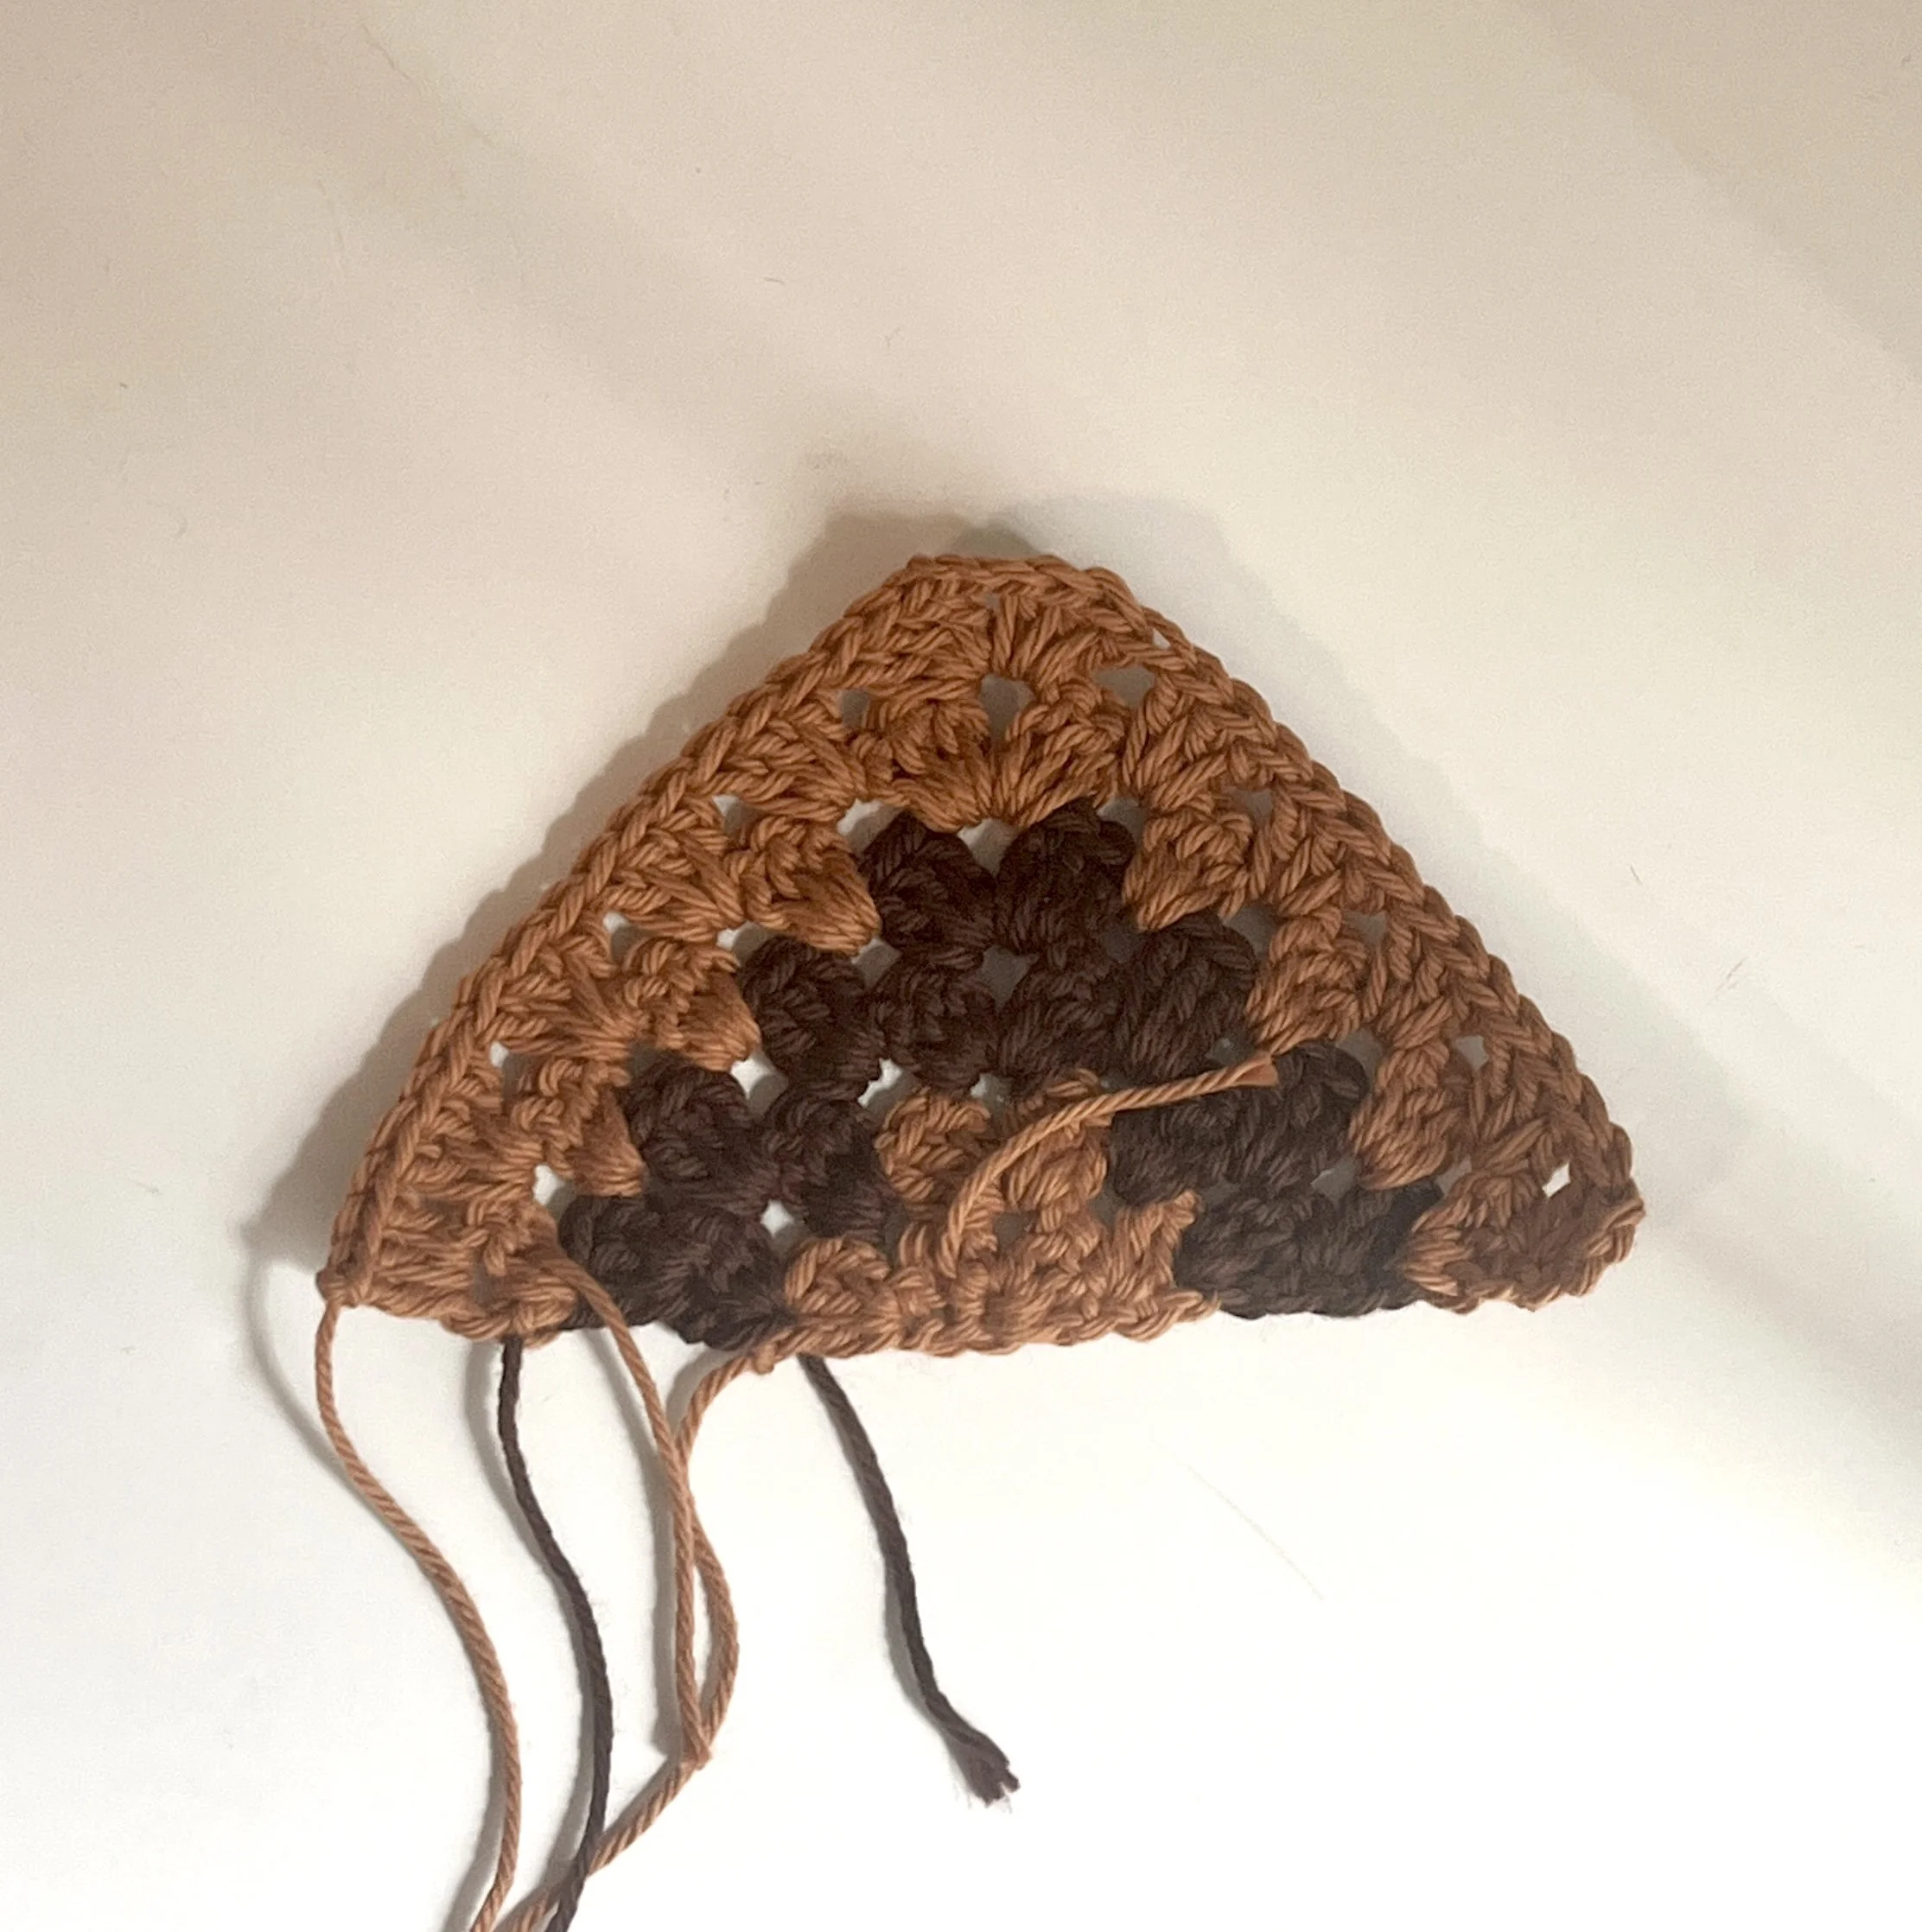
You should start to see a triangle forming.

ROW 3: Insert 2 DC into the first stitch and then 1 DC CLUSTER in each space until you reach the CH 3 space (top corner). Insert 1 DC CLUSTER, CH 3, 1 DC CLUSTER in the CH 3 space. Insert 1 DC CLUSTER to each space until you get to the last stitch. Insert 1 DC CLUSTER into the last stitch, CH 3 and turn work.
ROW 4: Insert 2 DC into the first stitch and then 1 DC CLUSTER in each space until you reach the CH 3 space (top corner). Insert 1 DC CLUSTER, CH 3, 1 DC CLUSTER in the CH 3 space. Insert 1 DC CLUSTER to each space until you get to the last stitch. Insert 1 DC CLUSTER into the last stitch. If you are using one color CH 3 and turn work. If you are using multiple colors, fasten off COLOR B. Insert hook into corner, add COLOR A, CH 3 and turn work.

ROW 5-12 (1 color): Repeat ROW 3. If you are using the same color for border, CH 1 and turn work (for Single Crochet Border) or CH 3 and turn work (for Shell Stitch Border). If you are using a different color for border, fasten off COLOR A after the last 1 DC CLUSTER.
ROW 5 & 6 (2 colors): Repeat ROW 3 & 4 with COLOR A.
ROW 7 & 8 (2 colors): Repeat ROW 3 & 4 with COLOR B.

ROW 9 & 10 (2 colors): Repeat ROW 3 & 4 with COLOR A.

ROW 11 & 12 (2 colors): Repeat ROW 3 & 4 with COLOR B, fasten off. Insert COLOR A, CH 1 (for Single Crochet Border) or CH 3 (for Shell Stitch Border) and turn work to start border.

Adding the Border:
There are two different borders you may choose from. A simple Single Crochet Border is always a classic or the Shell Stitch Border for if you’re feeling fancy.
SINGLE CROCHET BORDER:
If you used 1 color for base, CH 1 and turn work at ROW 12: Insert 1 SC in each stitch until you have gone around the triangle. SL ST into the first stitch. DO NOT FASTEN OFF.
If you used multiple colors for base, fastened off COLOR B, inserted COLOR A and CH 1: Insert 1 SC in each stitch until you have gone around the triangle. SL ST into the first stitch. DO NOT FASTEN OFF.

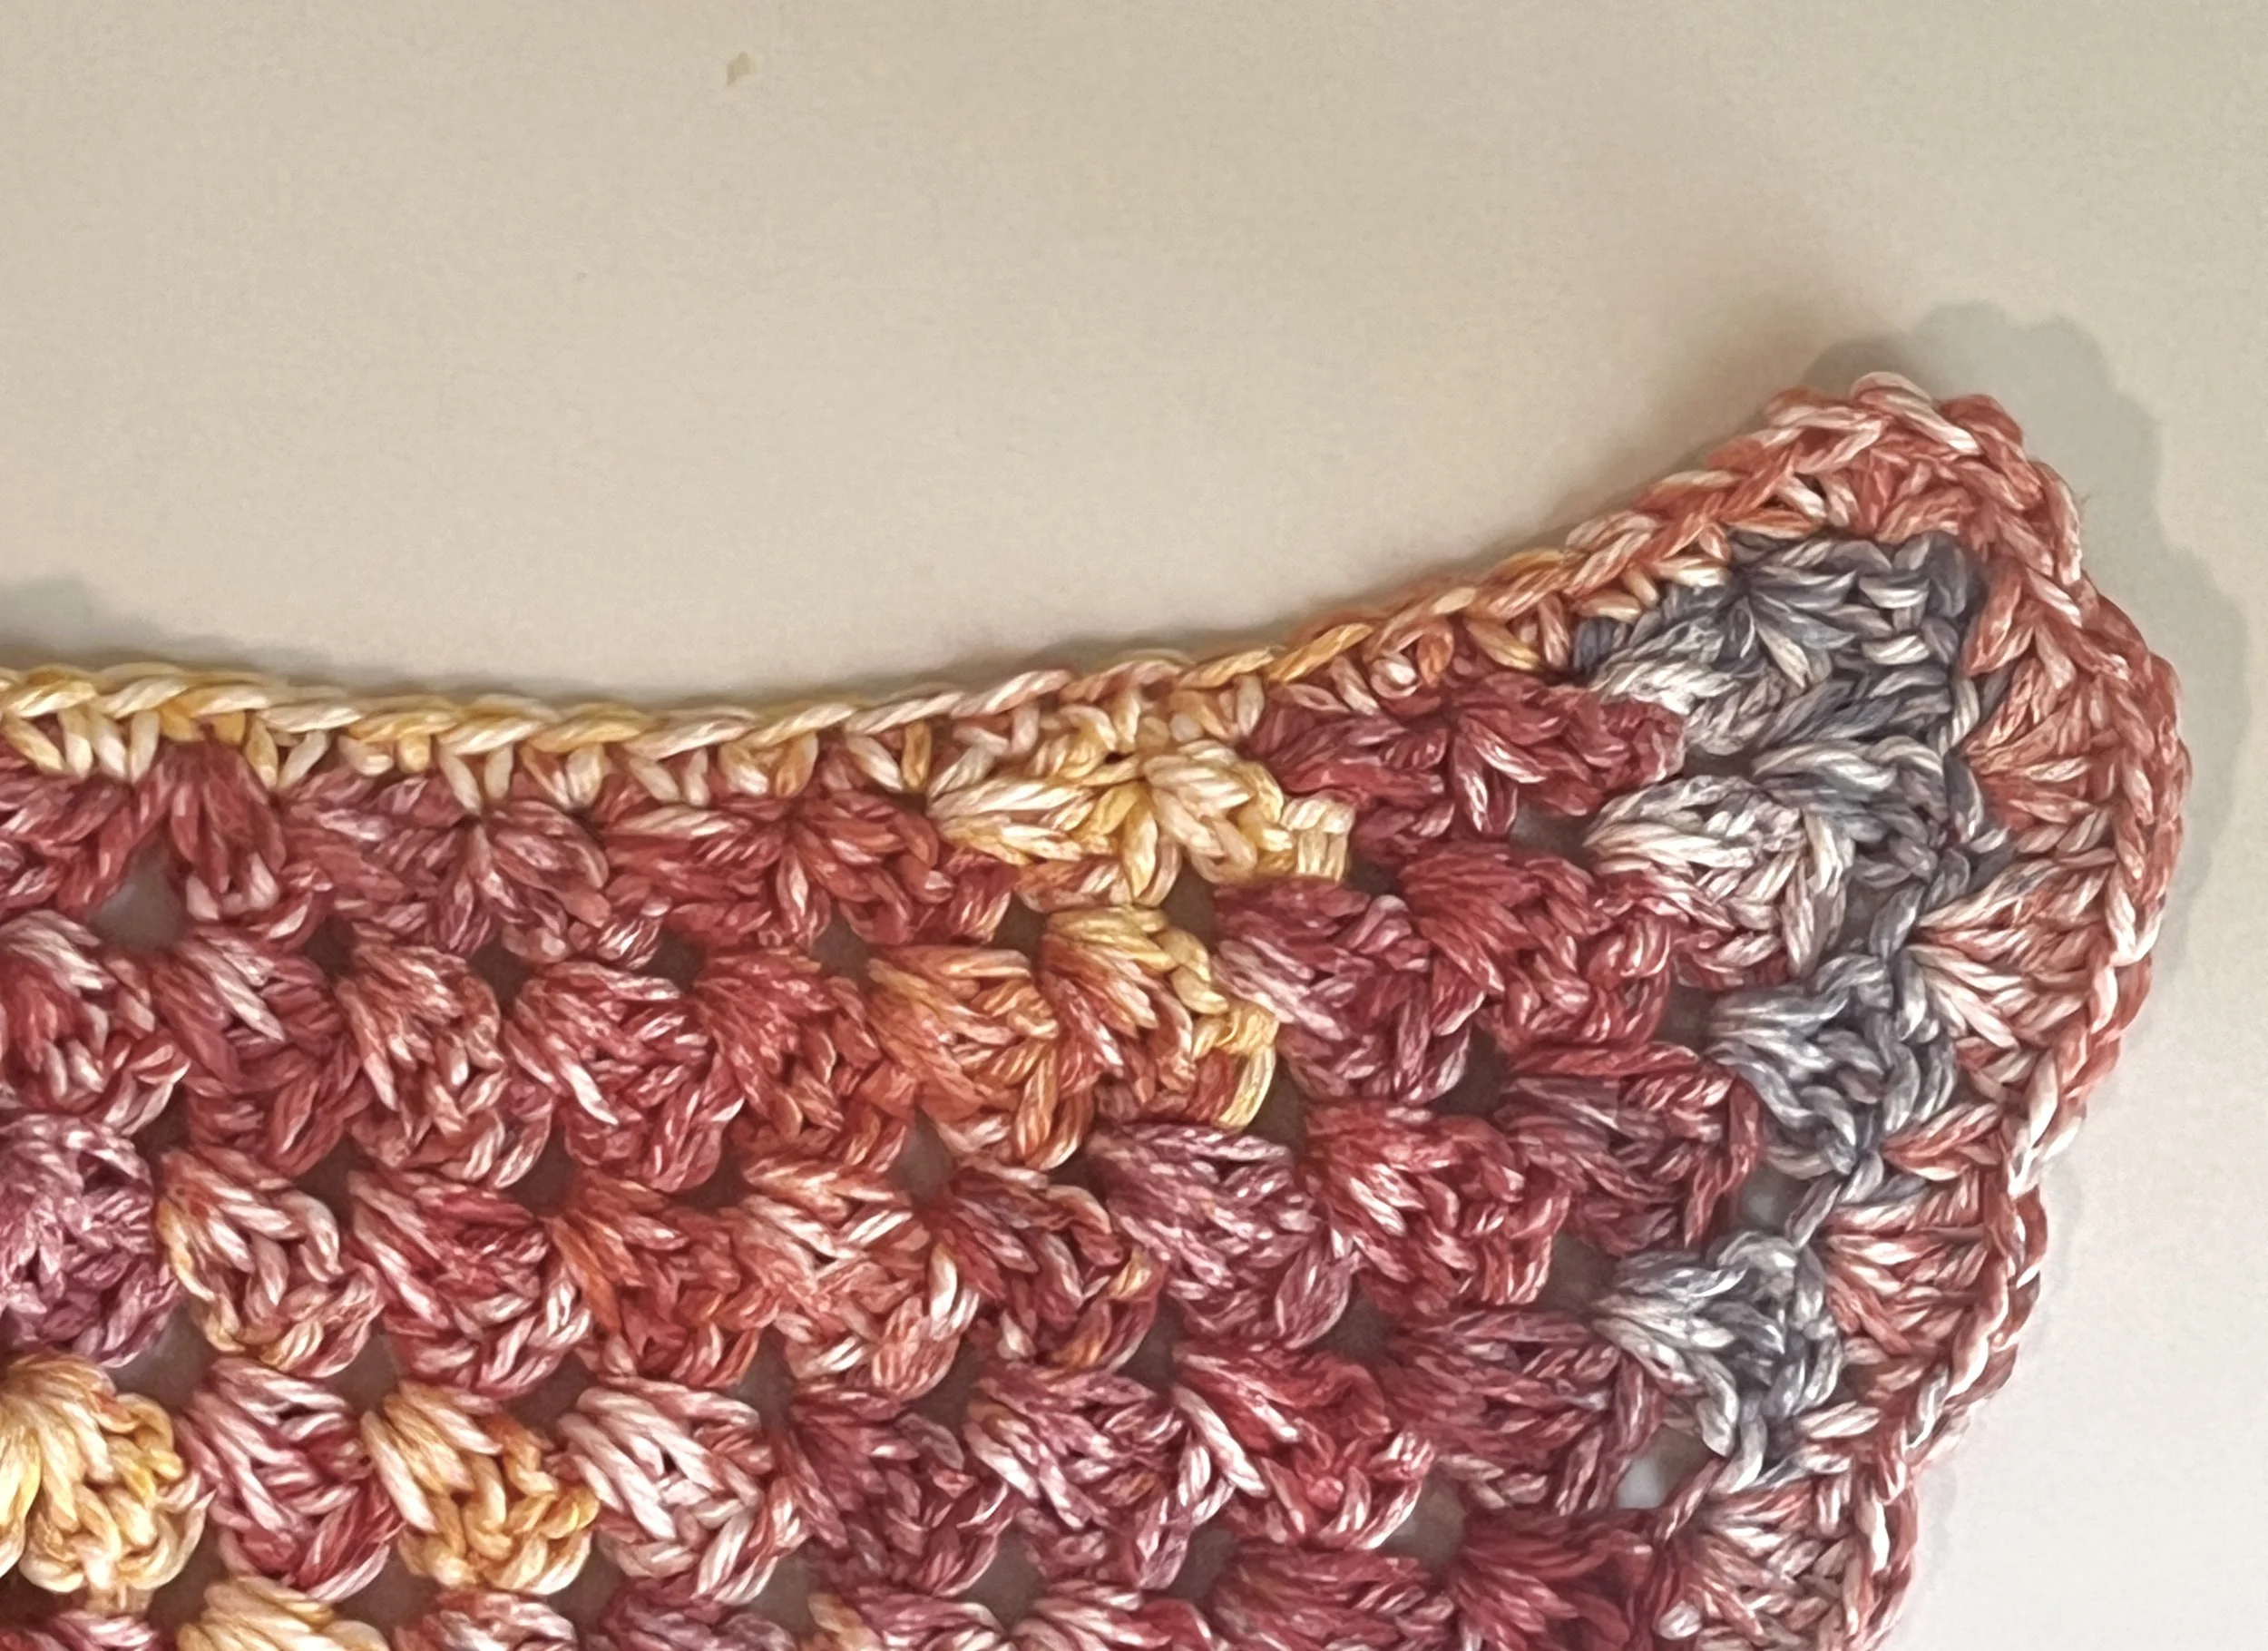
SHELL STITCH BORDER:
If you used 1 color for base, CH 3 and turn work after ROW 12: Insert 3 DC into the same stitch (should have 4 total), insert 1 SC in the next stitch, skip the next stitch. CONTINUE TO SH ST BORDER.
If you used 1 color for base and fastened off COLOR A after ROW 12: Create a slip knot and attach COLOR B to hook. Insert hook into the same corner and CH 3 (this will count as your first DC), turn work. Insert 3 DC into the same stitch (should have 4 total), insert 1 SC in the next stitch, skip the next stitch. CONTINUE TO SH ST BORDER.
If you used multiple colors for base and inserted COLOR A after ROW 12: Insert 3 DC into the same stitch (should have 4 total), insert 1 SC in the next stitch, skip the next stitch. CONTINUE TO SH ST BORDER.
CONTINUED SHELL STITCH BORDER:
Insert 4 DC in the next stitch, 1 SC in the next stitch and skip the next stitch. Repeat this pattern 10 more times (should have 12 SH ST total including the first SH ST from the beginning). For the top corner insert 1 DC CLUSTER, CH 3, 1 DC CLUSTER in the CH 3 space.

Insert 1 SC in the first stitch outside the CH 3 space and skip the next stitch. Repeat the 4 DC in stitch, 1 SC in the next stitch and skip the next stitch pattern until you have reached the end corner. There should be 12 SH ST on each side. You should end on 4 DC.

To start the top border, insert 1 SC into the same stitch and then insert 1 SC in each stitch until you reach the opposite corner. SL ST into first stitch. DO NOT FASTEN OFF UNLESS YOU WANT THE STRAPS TO BE A DIFFERENT COLOR THAN BORDER.
THE STRAPS:
Continuing from the border, CH 75 plus 1 and turn work. Insert 1 SC in each stitch until you reach the base. SL ST to connect strap to base. Fasten off.


Attach hook to opposite corner. Create a slip knot and attach to hook. CH 75 plus 1 and turn work. Insert 1 SC in each stitch until you reach the base. SL ST to connect strap to base. Fasten off.

Weave ends and your new bandana is complete! Don’t be afraid to get creative! Use multiple colors, switch colors often, just have fun!

Thank you for using my pattern! I would love to see you finished project, so feel free to tag me on Insta @ toadally. hooked! Also feel free to message me there with any questions about this pattern and I will do my best to answer them as best as I can!
Happy Crocheting!
XoXo, Kat